What Is a Wet Wet Lashes
A Step-By-Step Guide For Wet Look Lashes
If you're ready to dive into the world of Wet Look lashes and make your clients' eyes sparkle like never before, then you've come to the right place! In this blog post, we’re going to delve into what Wet Look lashes are, why they are gaining popularity, and the art of lash mapping so you can achieve this stunning look, ensuring your clients leave your beauty room with mesmerizing eyes that demand attention!What Are Wet Look Lashes?
Wet lashes are a very popular eyelash extension method that mimics the look of wet, shiny and voluminous lashes. Unlike traditional lash extensions, wet lashes tend to have a more natural matte finish, giving the illusion of a recent light coat of mascara, or as the name suggests, the look of wet lashes. This glossy effect will add depth and charm to your client's eyes, making them appear larger, more defined and more alluring.

Why so many customers love these lashes
First, he's bold and eye-catching: Wet Look lashes are perfect for those who want to boldly show off their eyes. The effect of these lash extensions draws the first attention to the lashes, making them stand out and emphasizing the natural beauty of the client's eyes even more. It gives a “just out of the shower” look!
Secondly, his longevity is also a highlight: Wet Look's lashes usually last longer than traditional lash extensions thanks to their waterproof lash sealant coating, making them ideal for special occasions or vacations. These glossy lash extensions stay in place so your clients can enjoy dazzling lashes without worry.
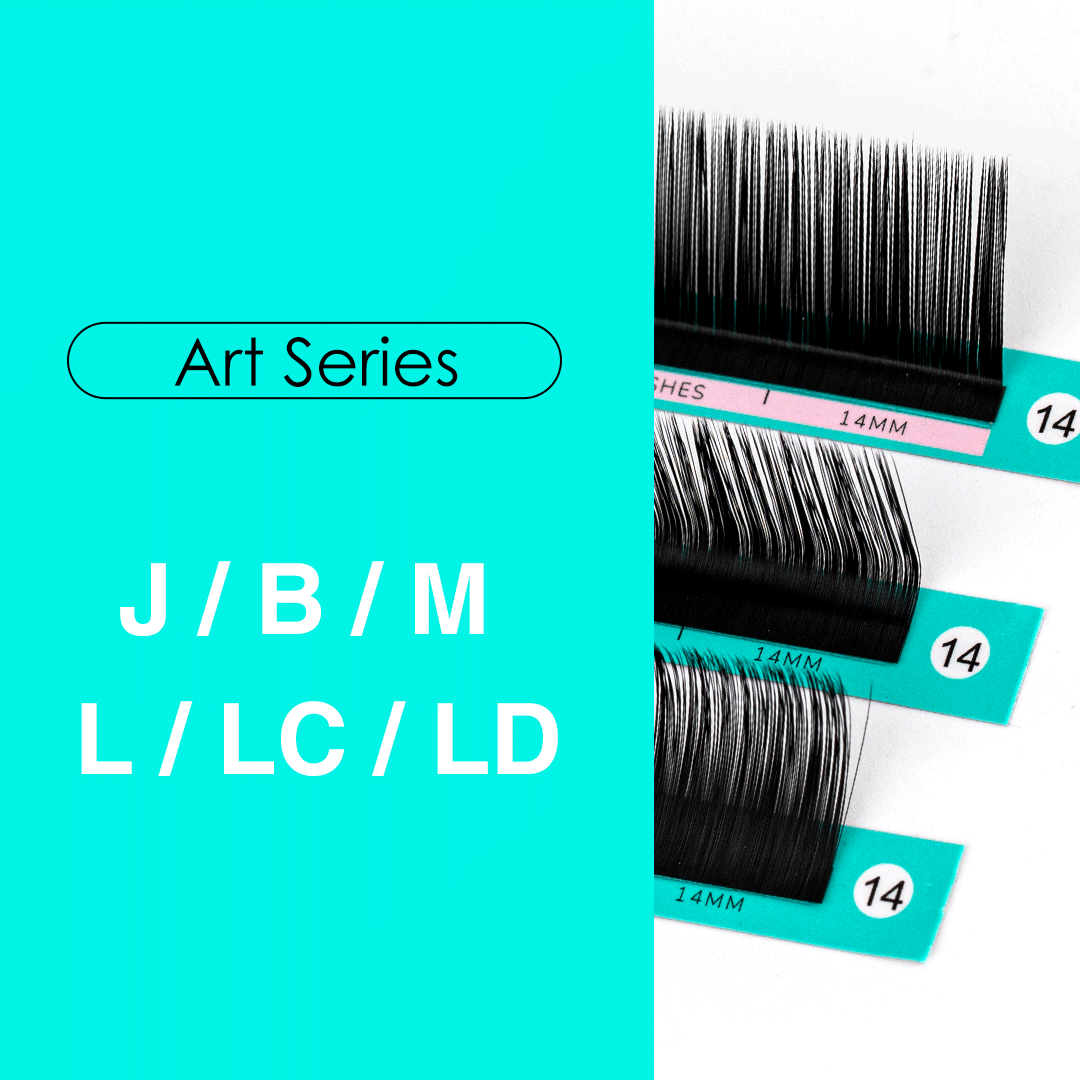
Finally, he's adaptable, he fits every eye shape: no matter the shape or size of your client's eyes, Wet Look lashes can be customized to fit their unique features so that they complement their overall appearance. You can create Wet Look lashes using the same lash decals you typically pick for your clients, including Dolly Eyes, Cat Eyes, Squirrel Eyes, and even Manga Eyelashes - your world is at your fingertips!
How To Create Wet Look Lashes?
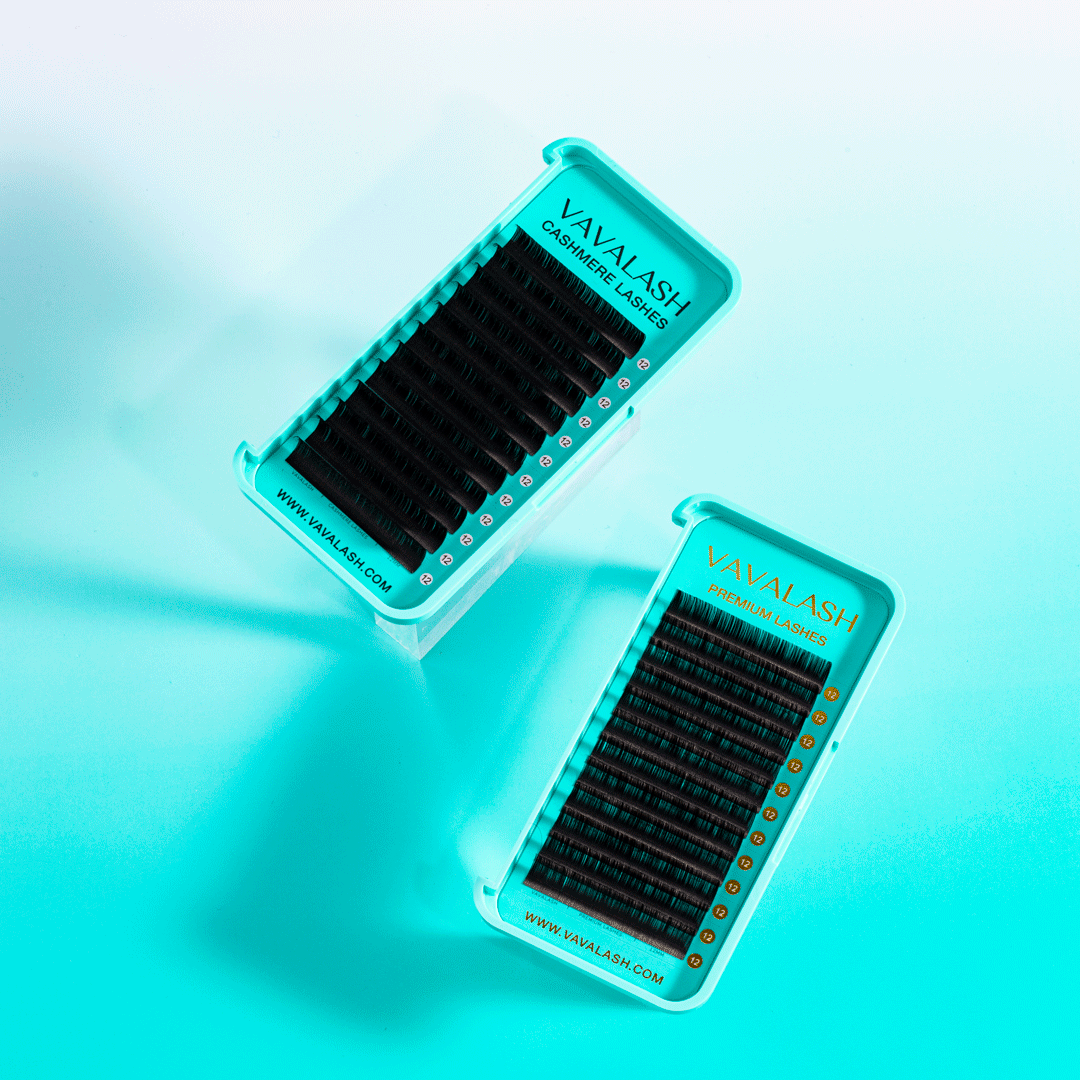
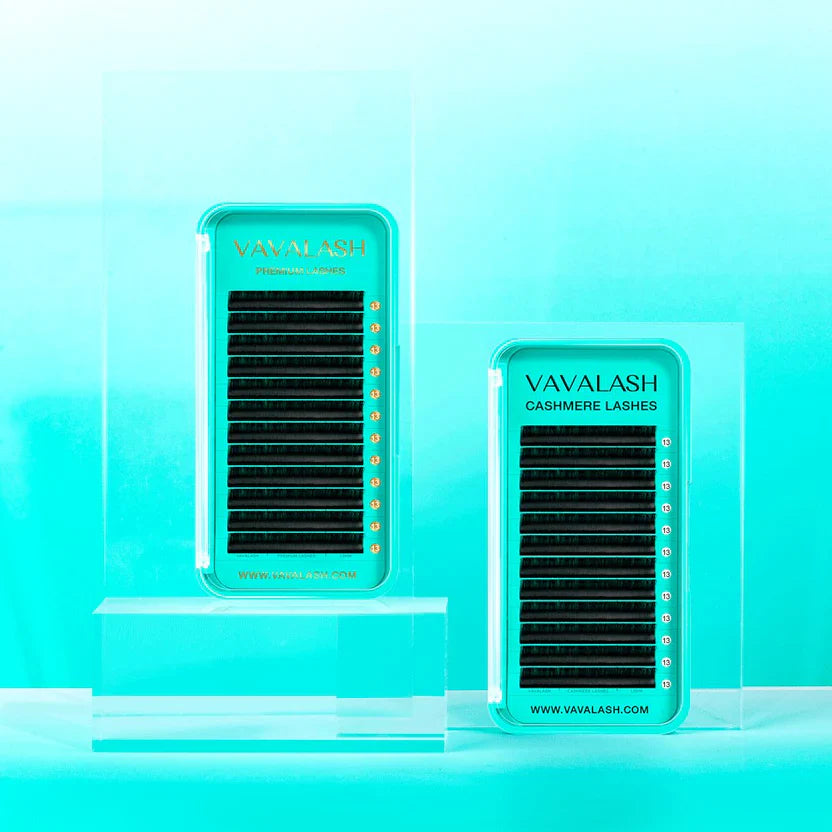
The first step must be to listen to your client's needs, as well as a thorough consultation and a perfect pre-treatment procedure. After evaluating their natural lashes and analyzing their eyes and face shape, only then can you decide on the best eyelash extensions for your client. To make the lashes look wet, you need to use glossy lash extensions that are specially designed to get a glossy look.
Having a full stock of lashes will not only help you create the perfect wet look for each client, but it will also ensure that you are at the forefront of other emerging lash extension trends! If your client wants to add a bit of drama to their lashes, then we'd recommend C-curl lashes or even D-curl lashes to enhance the lash line and further enhance the allure of wet lashes. However, it's important to remember that the curl of the lash extensions chosen should harmonize with your client's natural lashes and eye shape for a harmonious and glamorous result.
Do you know what the secret weapon to creating wet lashes is?
-The secret is lash sealer!
The key to creating a wet look is not only making sure your extensions are shiny, but also applying a coat of lash sealer to each layer. Lash sealer is like the setting spray of the lash extension world, locking in the dewy look.

-Mapping out wet lashes
Now comes the crucial part - drawing the lash extensions. When mapping wet look lashes, we recommend layering your natural lashes to create a seamless, natural look.
Create wet set lashes step by step
1. Priming
Apply lash primer to the lash strip. Take an appropriate amount and focus on the center and tips of the lashes.
2. Brush
Brush through the lash strip with a curling brush. The more you brush, the thinner the closed fan will be. So start slowly and stop brushing when you see the desired fan shape.
3. Pick Up and Soak
From the back of the lash strip, hold the tweezers perpendicular to the strip. Grab the closed lash fan from behind, making sure the tips stay together.

Then, dip the fan into the glue and rub the sides of the fan through the edge of the glue ring. Dip it at least halfway to make sure the fan stays closed, then apply to your natural lashes!
VAVALASH Wet Lash Attachment Tips
We recommend using a size 0.07 3D/4D fan or a size 0.05 6D/7D fan.
Do not use a length more than 2mm longer than your natural lashes.
As always, each fan is applied to one natural lash only.
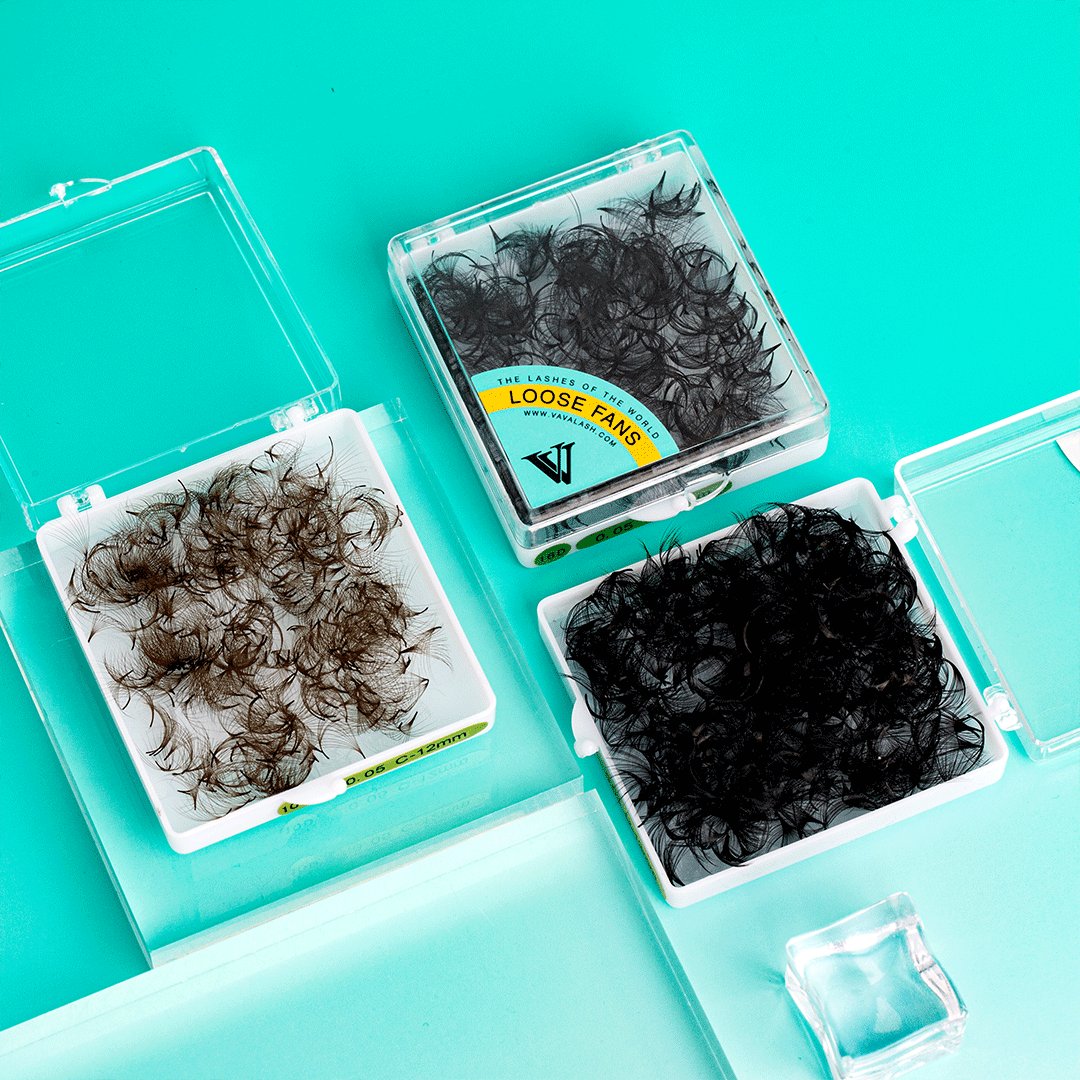
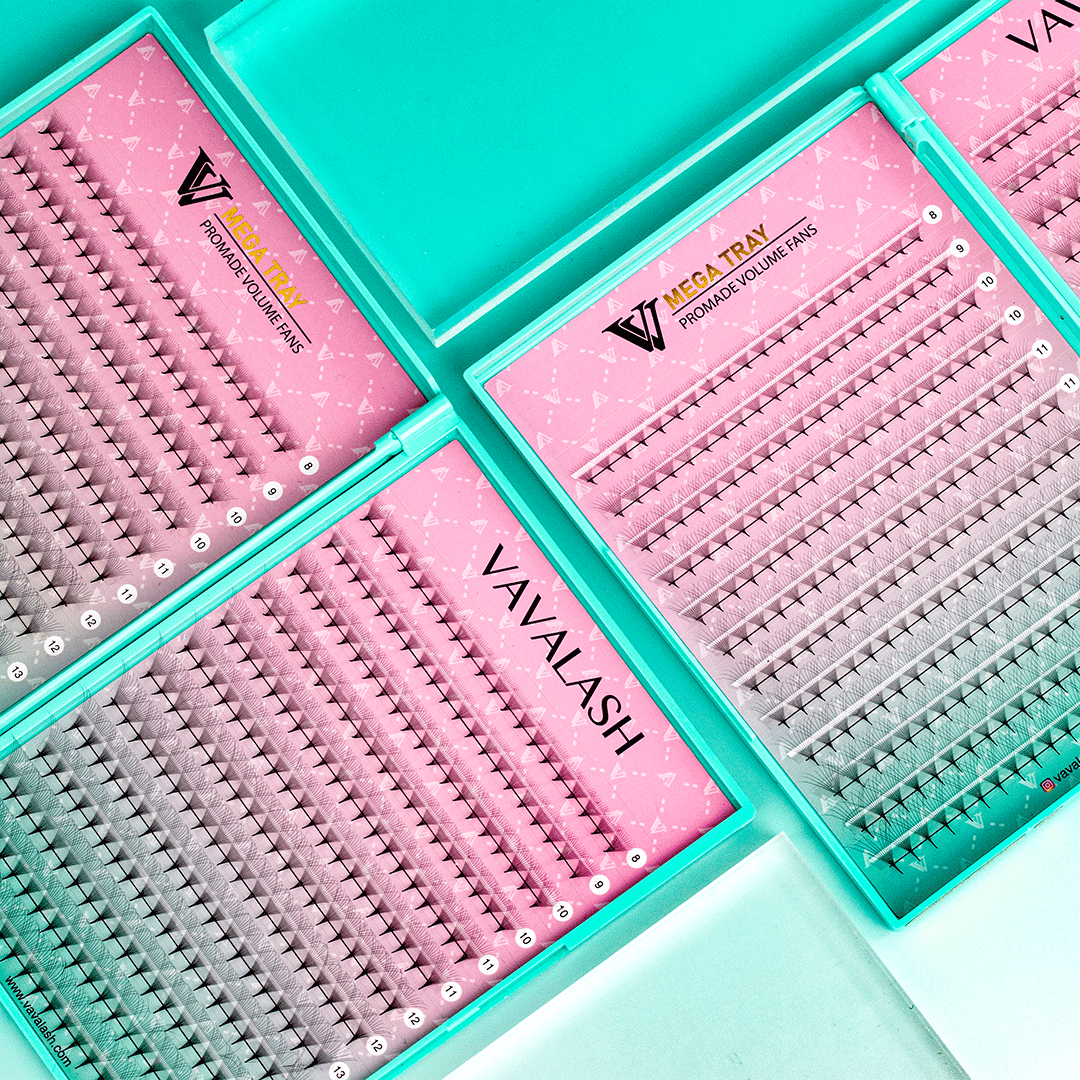
Wet lashes are a fun, trendy lash look that you can now offer your clients with confidence! Whether you make your own closed lash fans or try our ProMades, you'll be creating beautiful wet lashes in no time.


